What "Design" Means for a Snow-Melt System
Electric and hydronic systems heat the slab in different ways. Electric uses heating cables, and hydronic circulates warm fluid through tubing. The design steps are the same for both. If you are still choosing between the two, our
heated driveway cost guide compares install and running costs side by side. This post picks up after that decision.
Every design starts with a site review. At ESSES Concrete Group, that visit covers:
- The size and shape of the area you want heated
- The slope, and where water runs today
- Sun and shade, especially north-facing sections that hold ice
- Where meltwater can drain
- Access to your electrical panel or mechanical room
From there, we plan the concrete, the heating layout, the heat source, the controls and the drainage as one system. It is the same approach behind every snow melt system design we build, whether it runs on cables or tubing.
Step 1: Decide What to Heat (Zones)
A zone is an area the system can heat on its own. Zoning drives most of your install cost and running cost, so it is the first decision we make together.
Whole Driveway vs. Tire Tracks vs. the Garage Apron
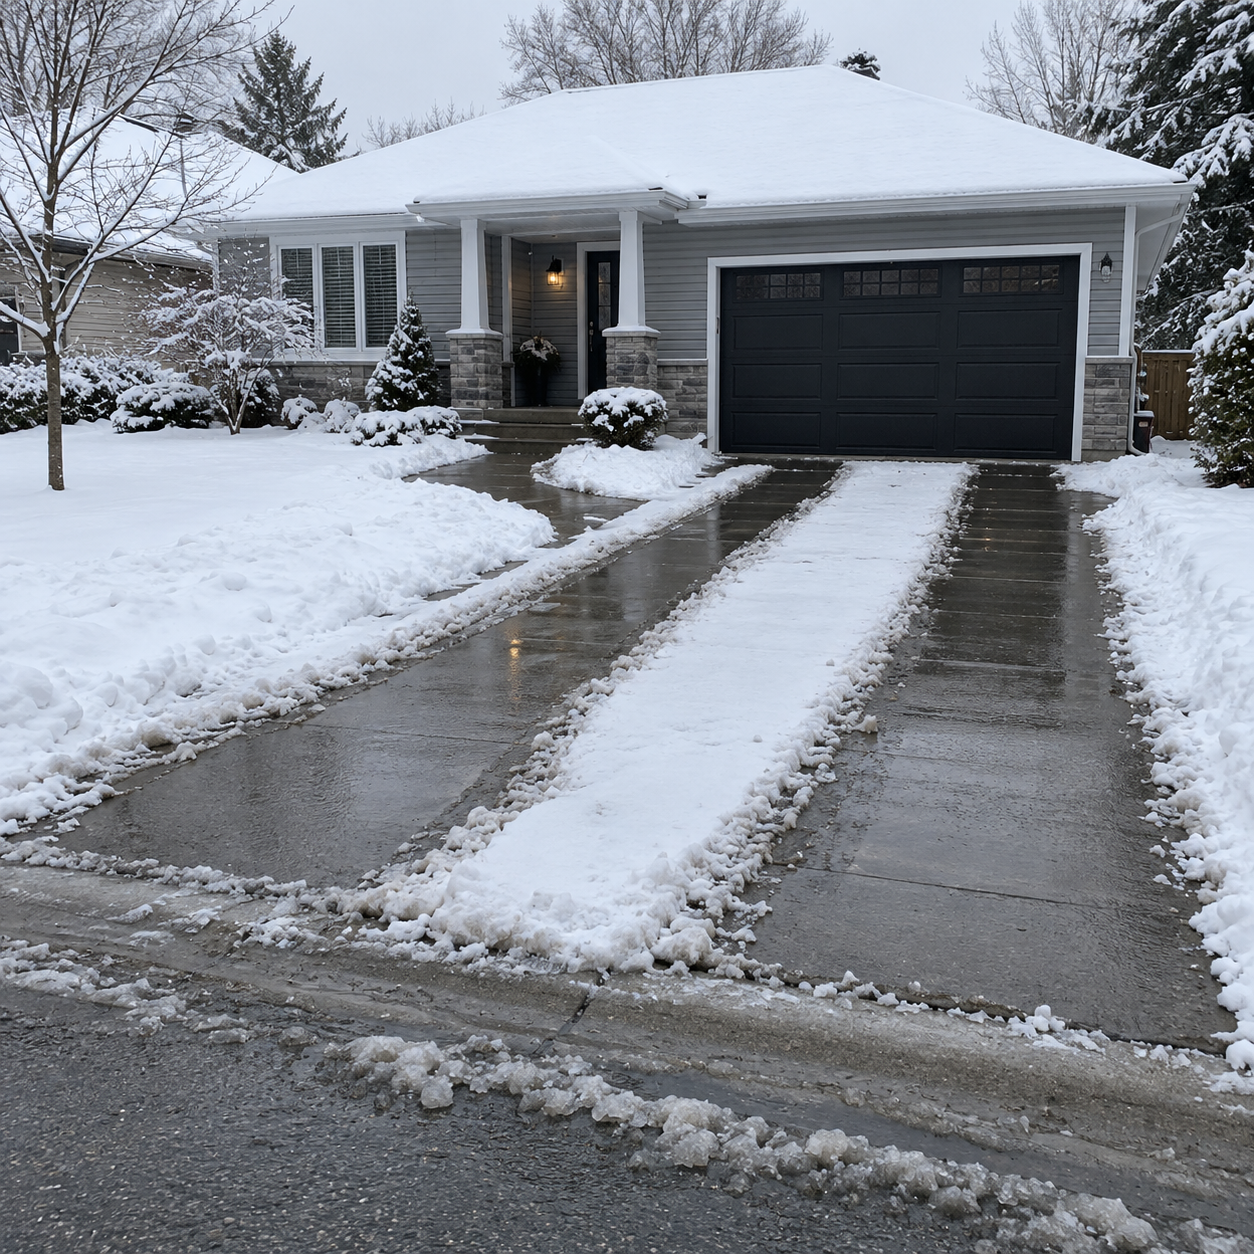
Full coverage gives you a clear slab from edge to edge. Heating only the tire tracks cuts the heated area by roughly 40 percent, which lowers both the install price and the energy bill. Tire tracks work best on straight driveways where cars always follow the same path. Heating only the garage apron, the first few metres in front of the door, targets the spot where meltwater dripping off cars tends to freeze.
Adding Walkways, Front Steps and the Entrance
The path from the driveway to the front door is where most winter slips happen. Walkways, steps and porch landings can run as their own zone, so they stay clear even when you do not need the whole driveway heated. If you are planning new concrete walkways, adding heat during the same pour is far easier than adding it later.
Priority Zones: Slopes and Shaded Areas First
Not every part of a driveway freezes the same way. A slope down to the garage, a strip shaded by the house, and the end of the driveway where the city plow leaves a ridge all hold ice the longest. Good design gives those areas their own zone so they clear at the same time as the rest of the slab.
Running cost here is relative. Your actual cost depends on the heated area, your energy source and how often it snows.
Step 2: Sensors (How the System Knows It's Snowing)
Sensors are what make a snow-melt system automatic. They watch for two conditions at once: freezing temperatures and moisture. The system turns on only when both are present, and it shuts off once the surface is clear.
In-Slab Temperature and Moisture Sensors
An in-slab sensor sits flush with the concrete surface. It reads the slab temperature and detects snow, slush or ice right where it lands. Because it measures the driveway itself, it also catches drifting snow and refreezing meltwater that a falling-snow sensor can miss.
Aerial Snow Sensors vs. In-Slab Sensors
An aerial sensor mounts on a post, wall or roof edge and detects precipitation as it falls, paired with an outdoor temperature reading. It is easier to add or replace because it is not set into the concrete. The trade-off is that it cannot tell what is happening on the slab. Many systems use both: the aerial sensor starts melting early, and the in-slab sensor decides when the driveway is actually clear.
Where to Place Sensors
Sensor placement is one of the most common design mistakes. A sensor in a sunny, open spot will shut the system off while the shaded half of the driveway is still icy. We place in-slab sensors where ice lasts the longest, such as low spots, shaded sections and the end of the driveway. Aerial sensors go where roof runoff, trees and dryer vents will not fool them.
Step 3: Controls and Programming
The controller is the brain of the system. It reads the sensors, turns each zone on and off, and lets you override the system when you need to. A well-designed setup includes:
- Automatic on and off.
The system starts at the first sign of snow or ice and stops once the slab is clear.
- A run-on timer.
Heat keeps running for a set time after the snow stops, drying the surface so meltwater does not refreeze overnight.
- Manual boost.
Start the system on demand, for example before guests arrive or ahead of a forecast storm.
- Zone control. Run the walkway and garage apron without heating the whole driveway.
- Idle mode (optional). Some controllers hold the slab just below freezing when a storm is coming, so melting starts faster. It uses more energy, so it is best used selectively.
- App control (optional). A Wi-Fi control module lets you check the system, change settings and start a boost from your phone.
On electric systems, programming also affects your hydro bill. Running costs follow Ontario's Time-of-Use rates, and a storm during on-peak hours can cost about double the same storm overnight. Our heated driveway cost guide breaks down what each rate period costs to run.
Step 4: Sizing the Heat Source
Undersizing is the most expensive design mistake, because it cannot be fixed without major work. An undersized system melts slowly, falls behind in heavy storms and leaves ice along the edges.
Hydronic: Sizing the Boiler or Heat Pump
A
hydronic heated driveway in London is sized from the heat the slab needs, not the size of your house. The calculation looks at:
- Heated area. The square footage of each zone.
- Design output.
How much heat each square foot needs to melt snow at the rate you want.
- Edge and back losses.
Heat lost out the sides of the slab and down into the ground. Insulation reduces this.
- Glycol mix. The antifreeze that keeps the fluid from freezing carries heat a little less efficiently than plain water, so the system is sized for it.
- Tubing runs and pump capacity. Longer loops need more pumping power to move heat evenly.
Put simply:
heated square feet times design output, plus losses, equals the output your heat source needs. For example, a 600 sq ft driveway designed at [X] BTU/hr per square foot needs a heat source rated around [600 x X] BTU/hr before losses. Whether your existing boiler can handle that depends on its spare capacity, which we check during the site visit.
Electric: Cable Output and Panel Capacity
An
electric heated driveway is sized by cable output and your electrical service. Electric snow-melt systems typically draw about 50 watts per square foot, so a 400 sq ft driveway needs around 20 kW, roughly 83 amps at 240 volts. That load runs on dedicated circuits, and many homes need a panel or service upgrade to carry it. Our cost guide explains when a panel upgrade is needed and what it adds to the budget.
Why Undersizing Is the #1 Design Mistake
A system that is slightly too small looks fine in a light flurry. The problem shows up in a real storm, and London sees roughly four days a winter with more than 10 cm of snow. Snow builds faster than the slab can melt it, the edges stay white, and meltwater refreezes overnight. Since the tubing or cables are set in concrete, adding capacity later means a new slab. That is why we size for the storms, not the average day.
Step 5: The Slab Itself: Insulation, Layout and Drainage
The heating system and the concrete have to be designed together. Three details make the biggest difference.
Insulation
Rigid insulation under the slab and along its edges pushes heat up into the driveway instead of down into the ground. The system responds faster and costs less to run.
Tubing or Cable Layout
Tubing or cables are laid in an even pattern that follows the design, because uneven spacing leaves cold strips where snow lingers. Electric cables are tied to the reinforcing mesh about 5 to 7 cm below the finished surface and tested before and after the pour. Hydronic tubing is pressure tested before the pour to make sure every loop is leak-free. Ask your contractor for the test records and a layout drawing. They make any future repair smaller and cheaper.
Drainage
A heated driveway makes water in the middle of winter. The slab needs enough slope to move it, and usually a slot or trench drain at the low point. Without one, meltwater runs onto an unheated sidewalk or pools at the garage door and freezes there, creating the exact problem you paid to solve.
BOOK A FREE DESIGN CONSULTATION
Design Checklist to Bring to Your Quote
Compare heated driveway quotes on design, not just the bottom line. A complete design should spell out:
- Which zones are heated, and the square footage of each
- The sensor type and where each sensor goes
- Control features: automatic operation, run-on timer, boost, zone control and app
- The heat source and its output, or the electrical load and circuits
- Whether a panel upgrade or new boiler is included
- Insulation under and around the slab
- Cable or tubing brand and spacing
- The drainage plan for meltwater
- Test records and a layout drawing at handover
- Permits included:
ESA,
TSSA and City
- A written warranty covering workmanship and components
Every heated install from ESSES Concrete Group carries our one-year workmanship warranty plus up to ten years of manufacturer coverage on the components. Our owner is on site for every heated driveway, so sensor placement, layout and testing are never handed off.
Frequently Asked Questions
Can I add zones like steps or a walkway later?
Yes, when that area is poured or replaced, as long as the heat source and controller have room for it. The easiest path is planning ahead: size the boiler or electrical service with a future zone in mind, so adding the walkway or steps later does not mean upgrading equipment.
What happens if a sensor fails? Can I run the system manually?
Yes. Controllers include a manual mode, so you can run the system on demand until the sensor is replaced. In-slab sensors typically sit in a housing set into the concrete, so the sensor itself can be swapped without breaking the slab.
Does the system keep working on very cold days?
It does, but melting slows as temperatures drop, because the slab loses heat faster. Many controllers have an adjustable cold-weather cutoff, since snow in deep cold is usually light and dry while running costs climb. Whether to use a cutoff, and at what temperature, is a design choice we make with you. In hydronic systems, the glycol mix keeps the fluid from freezing.
Can a snow-melt system run off a heat pump instead of a boiler?
A hydronic system can run on a boiler or a compatible heat pump. Heat pumps supply cooler water and lose capacity in very cold weather, so the system has to be sized for that, and some setups keep a boiler as backup. We will tell you honestly whether a heat pump suits your driveway.
Does a snow-melt system work on a sloped driveway?
Yes, and sloped driveways benefit the most, since they are the hardest to keep safe in winter. The key is drainage: meltwater runs downhill, so the design needs heat at the bottom of the slope and a drain to catch the runoff before it can refreeze.